user manual
SONORE
the sound has to be in concert with the music....
microRendu
user manual
POWER SPECIFICATIONS
The
Sonore microRendu utilizes an optional power supply capable of delivering
6-9 volts at 1 amp min (center +). Do not exceed these power specifications
or damage to the unit will occur. Damage from an unapproved power supply
will void the unit's warranty.
INSTALLATION
The microRendu contains both switching regulators and linear regulators,
the switching ones are very efficient so the heat dissipated does not vary
with the input voltage, but the linear ones DO generate more heat as the
input voltage increases.
The microRendu itself gets a little warm at 6V a quite warm at 9V, all
well within the operating range. The other consideration is what current
a VBUS powered DAC uses. If your DAC uses the full 0.5A from the VBUS,
the VBUS regulator in the microRendu will be generating a lot of heat,
this could cause overheating depending on how much ventilation your microRendu
gets.
If the case ever gets too hot to hold your finger on it, it is too hot,
turn it off and either decrease the voltage or provide more ventilation.
But this could only happen if you have a DAC that pulls close to the maximum
current (0.5A). If your DAC doesn't use any current from the VBUS or only
uses a small amount, then anything in the 6-9V range should be fine.
Temperatures above the "I can't hold my finger on the surface" will not
immediately fry the microRendu, but will decrease its operating lifetime.
It's a cumulative thing, finding out that it was running really hot for
a few hours is not going to cause any problem, it is the running really
really hot 24/7 for months that will shorten the lifespan.
Install the microRendu in a location with plenty of ventilation. Do not install the microRendu near other gear that gives off heat via radiation or on gear that gives of heat via conduction.
A USB adapter has been provided for connecting the unit directly to your
DAC. When using the supplied USB adapter you must support the unit from
underneath or damage can result to the unit's USB connector and or to your
DACs USB connector.
Damage to the unit's USB connector from inappropriate support or lack
of support will void the unit's warranty. If the unit can not be properly
supported when using the USB adapter use a short USB cable instead.
POWER AND BOOT UP
Connect one end of an Ethernet cable to the
RJ45 connector jack on the back of the unit.
Connect the other end of the Ethernet cable to a router that has access
to the internet. If you do not have an ethernet connection in your audio
room a local electrician can do this for you for a reasonable price. As
a last resort, you can also get a Home Plug Ethernet adapter that uses
your home's power wires to extend your network. This a good
Home Plug Ethernet adapter.
Connect your DC power supply to the unit. The DC power connector accepts
a 5
.5mm x 2.1mm jack.
Wait approximately 45 seconds for the unit to boot up and it should be ready to use.
ACCESSING THE UNIT'S GRAPHICAL USER INTERFACE "GUI"
From any web browser on your home network enter the following URL
www.sonicorbiter.comto locate the unit's GUI.
You should get something like this if the unit is properly located.

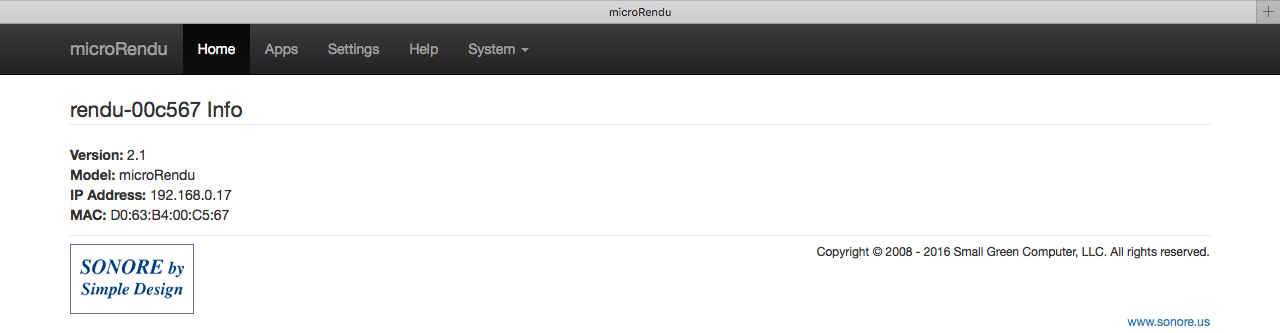
Click on the IP address and the unit's GUI home page should open in your browser.
You should get something like this.
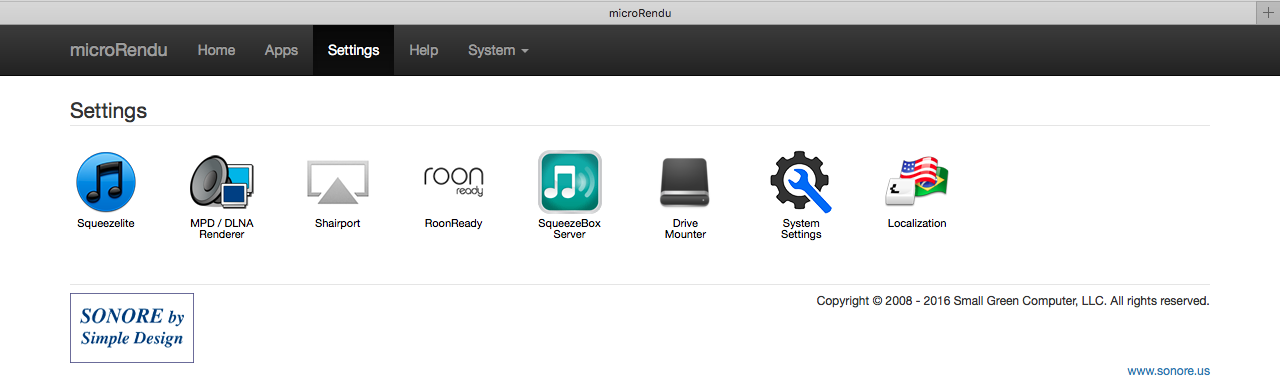
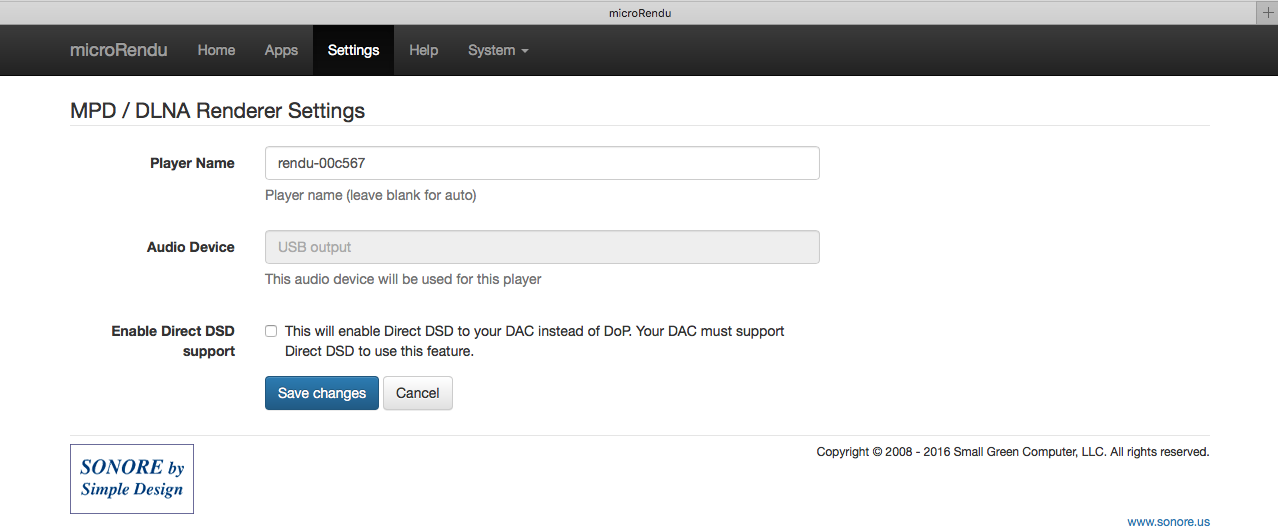
SETTINGS
The Settings tab is where you configure the unit and save settings. You
can set things such as DoP/DSD support.
From the unit's GUI click on the Settings tab.
You should get something like this.
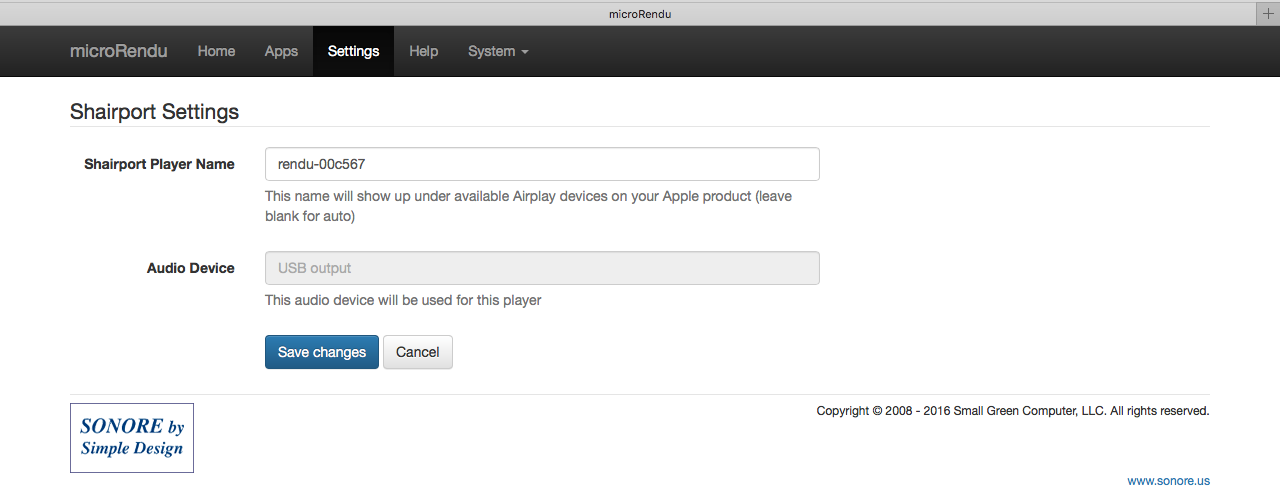
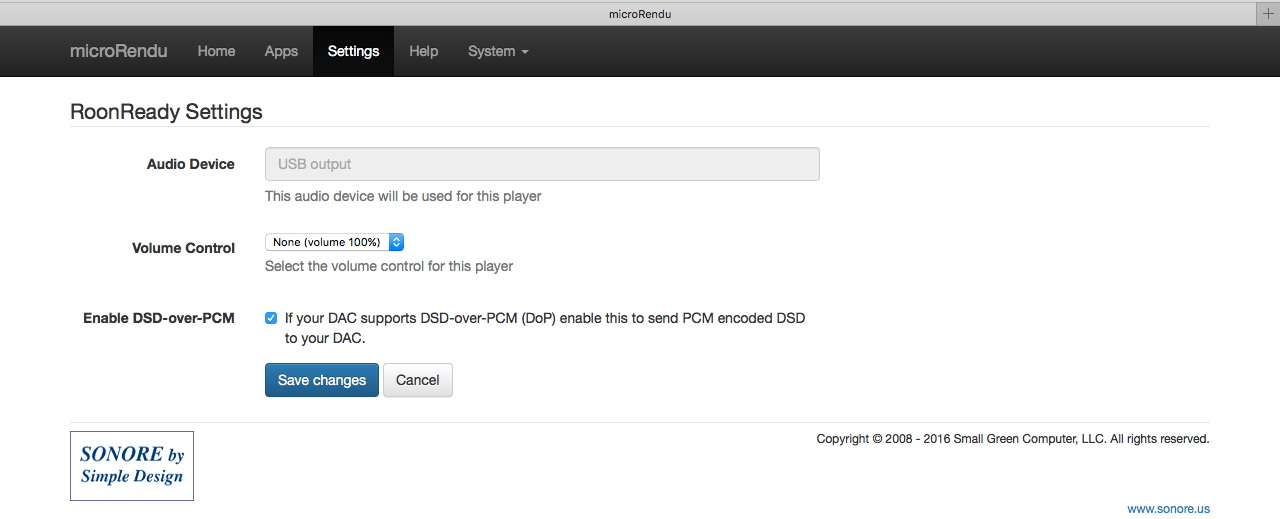
These are some example of the various setups for the supported APPs.
Squeezelite
MPD/DLNA
Shairport
RoonReady
NAA - this APP does not have a setup page
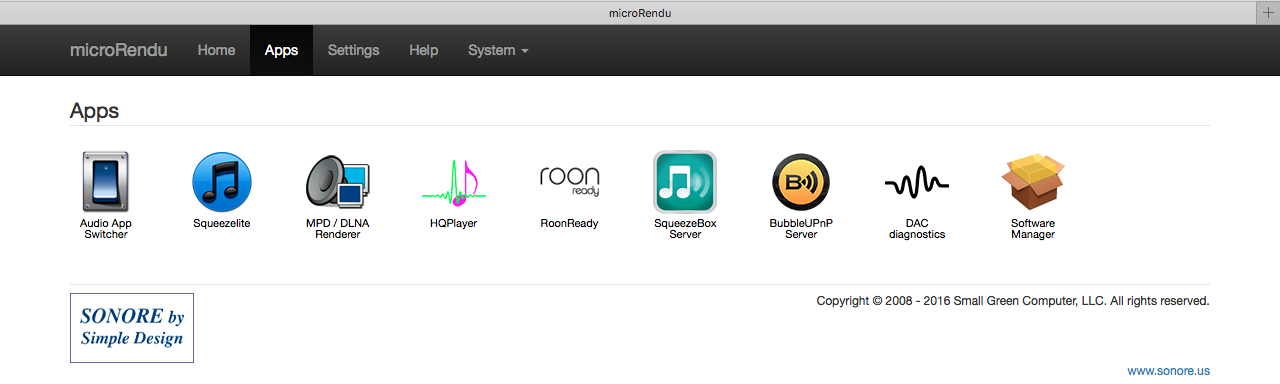
OUTPUT MODES
The Apps tab is where you select the unit's output mode. Only one output
mode can be active at any given time.
From the unit's GUI click on the Apps tab.
You should get something like this.
From the unit's GUI click on the Audio App Switcher tab.
You should get something like this.
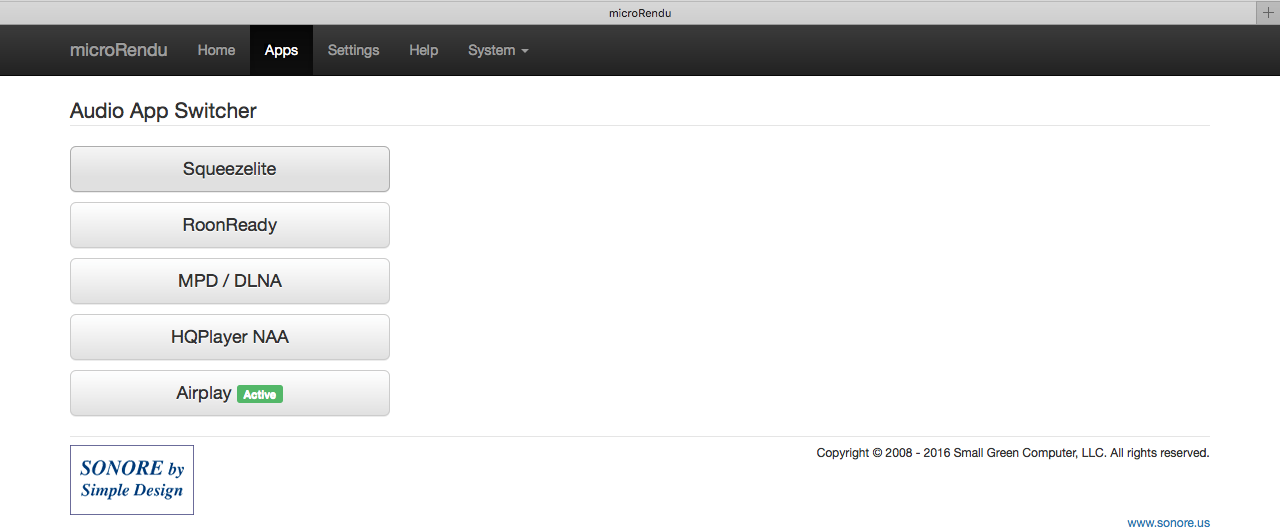
Select the output mode needed for playback and wait for the green Active
box to appear. The green Active box lets you know the output has been enabled.
The following is a description of the available output modes:
Mode #1 - SqueezeLite Output - This output works with any Logitech Media
Server and compatible controllers. This output supports true gapless playback
of PCM, DSD/DoP, and native DSD.
Mode #2 - ShairPort Output - This is an AirPlay emulator that utilizes
streams sent to it from a compatible source. This output supports true
gapless playback of PCM.
Mode #3 - MPD/DLNA Output:
Mode #3a - DLNA Output - This output utilizes streams from UPnP/DLNA servers
and controllers. This output can be configured as an OpenHome renderer.
This output supports true gapless playback of PCM, DSD/DoP, and native
DSD.
Mode #3b - MPD Output - This output is intended to work with an SMB mount.
This output supports true gapless playback of PCM, DSD/DoP, and native
DSD.
Mode #3c - Songcast Output - This output accepts streams from your computer
running Linn Songcast. The application is in Beta form.
Mode #4 - HQ Player NAA Output - This output utilizes streams from Signalyst's
HQ Player running on your computer. Digital signal processing is performed
by HQ Player and then asynchronously streamed to the Network Audio Adapter
(NAA) output. This output supports true gapless playback of PCM, DSD/DoP,
and native DSD.
Mode #5 - RoonReady Output - This output utilizes streams from Roon. This
output supports true gapless playback of PCM, DSD/DoP, and native DSD.
Mode #6 - Spotify Connect Output - This output can be controlled by your
computer or tablet running the Spotify application. This application is
based on librespot which is an open source client library for Spotify.
The application is in Beta form.
Copyright Simple Design, LLC
All Rights Reserved